Kitchen - take out window
Getting ready to take this window out and
frame out an opening for the glass bocks.


posted by donal.conlon @ 5:17 AM
0 Comments
![]()
Getting ready to take this window out and
posted by donal.conlon @ 5:17 AM
0 Comments
![]()

posted by donal.conlon @ 5:48 PM
0 Comments
![]()

posted by donal.conlon @ 7:54 PM
0 Comments
![]()


posted by donal.conlon @ 7:31 PM
0 Comments
![]()
The existing lighting like everything else was a mess. Installed six new lights. The old lights were split on two switches, combined all the recessed onto one switch, and will use the second switch for the island lighting. The recessed lights are pretty easy to install once you figure the locations.
posted by donal.conlon @ 7:25 PM
0 Comments
![]()
04/02
posted by donal.conlon @ 7:21 PM
0 Comments
![]()
The Kitchen is probably not as challenging a project as the bathroom, but it's a bigger inconvenience and it's definetly big.
posted by donal.conlon @ 7:11 PM
0 Comments
![]()
I finally got the hallways done. Brought Giovani into do the ceilings and he ended up doing all the walls too. Came up pretty good, not perfect but a huge improvement.
posted by donal.conlon @ 6:59 PM
0 Comments
![]()
 Mission
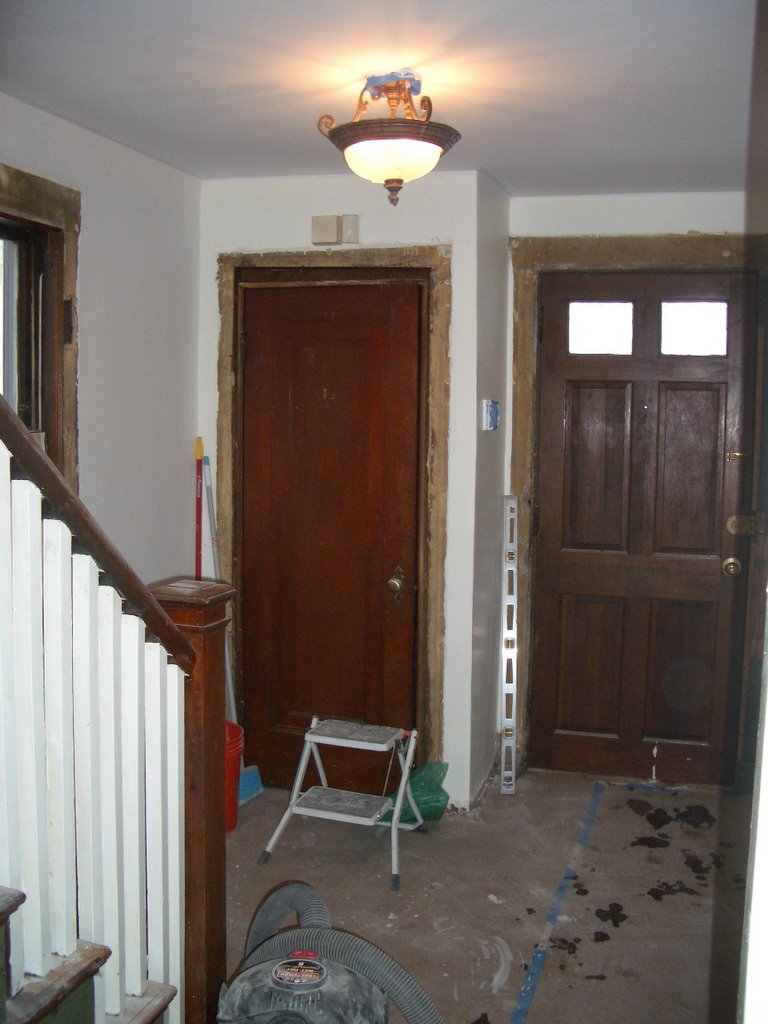
posted by donal.conlon @ 1:32 PM
0 Comments
![]()
Finally got around to building the sink vanity cabinet. Uses MDF to build the box with finish nailer and glue, then applied a poplar 1x2 frame. I wanted to do the 'pickled' (whitewashed) look but ended up just painting it wedding white.
posted by donal.conlon @ 12:16 PM
0 Comments
![]()
While in Ireland I saw a cool collapsable tub-Shower screen. It is a four pane screen that attaches to the wall. The panes are hinged so you can collapse it back to the wall. Problem was it was only 4 panes long which isn't long enough for the standard american shower as the pressure is much higher and the water will just shoot out beyond the screen. So I bought two screens, broke them down and made one 6-pane screen out of them. Works a charm, so much nicer than a curtain.
posted by donal.conlon @ 8:31 AM
0 Comments
![]()
My Optio has crapped out on me, so haven't been able to take any pics. Since last pic I have managed to get the tiling done, install the hardwood and get the walls and ceiling done.
posted by donal.conlon @ 8:01 AM
0 Comments
![]()

Subscribe to
Posts [Atom]